MotionLayoutでアニメーション作る
この記事は Android Advent Calendar 2018 の5日目(の代打)です。
だいたいこれ読めば基本は一通りわかる
サンプルはこのRepositoryの中のmotionlayoutディレクトリをビルドすれば試せる github.com
雑な概要
- MotionLayoutはConstraintLayout 2.0に含まれている。ConstraintLayoutのパッケージに含まれているのはMotionLayoutがConstraintLayoutのサブクラスになっているため。
- オブジェクトのモーション開始状態と終了状態のConstraintを定義して、モーションスタートさせると開始状態から終了状態までオブジェクトが変化する。単に開始・終了を指定しただけだとシンプルに変化するだけだが、KeyFrameSetやCustomAttributeを使うことで、多様な変化を定義できる。
- 基本の設定
- MotionLayout内に動かしたいオブジェクトを配置する。動かしたいオブジェクト以外は配置しない。
- オブジェクトのモーションの開始状態と終了状態を定義したSceneを作成する。
- Transitionを設定し、開始状態と終了状態を設定する。必要ならモーション開始のハンドラを設定する(クリックやスワイプなど)。設定しなくても他のViewからMotionLayoutのprogressプロパティを操作することでモーションをコントロールできる。
- 作成したシーンをMotionLayoutに設定する
基本のサンプル(冒頭のandroid-ConstraintLayoutExamplesより)
- scene.xml
<?xml version="1.0" encoding="utf-8"?>
<MotionScene xmlns:android="http://schemas.android.com/apk/res/android"
    xmlns:motion="http://schemas.android.com/apk/res-auto">

    <Transition
        motion:constraintSetEnd="@+id/end"
        motion:constraintSetStart="@+id/start">
        <OnSwipe
            motion:dragDirection="dragRight"
            motion:touchAnchorId="@+id/button"
            motion:touchAnchorSide="right" />
    </Transition>

    <ConstraintSet android:id="@+id/start">
        <Constraint
            android:id="@id/button"
            android:layout_width="64dp"
            android:layout_height="64dp"
            android:layout_marginStart="8dp"
            motion:layout_constraintBottom_toBottomOf="parent"
            motion:layout_constraintStart_toStartOf="parent"
            motion:layout_constraintTop_toTopOf="parent" />
    </ConstraintSet>

    <ConstraintSet android:id="@+id/end">
        <Constraint
            android:id="@id/button"
            android:layout_width="64dp"
            android:layout_height="64dp"
            android:layout_marginEnd="8dp"
            motion:layout_constraintBottom_toBottomOf="parent"
            motion:layout_constraintEnd_toEndOf="parent"
            motion:layout_constraintTop_toTopOf="parent" />
    </ConstraintSet>

</MotionScene>
- scene_fragment.xml
<androidx.constraintlayout.motion.widget.MotionLayout
    xmlns:android="http://schemas.android.com/apk/res/android"
    xmlns:tools="http://schemas.android.com/tools"
    xmlns:app="http://schemas.android.com/apk/res-auto"
    android:id="@+id/motionLayout"
    app:layoutDescription="@xml/scene" // 作成したSceneを指定
    app:showPaths="true"
    android:background="@android:color/white"
    android:layout_width="match_parent"
    android:layout_height="match_parent">

    <View
        android:id="@+id/button"
        android:background="@color/colorAccent"
        android:layout_width="64dp"
        android:layout_height="64dp"
        android:text="Button" />

</androidx.constraintlayout.motion.widget.MotionLayout>
- ここで注意するポイントはモーションの対象となるオブジェクト(id/button)のMotionLayout内で設定したconstraintは無視されて、Sceneの開始状態のconstraintが優先される。
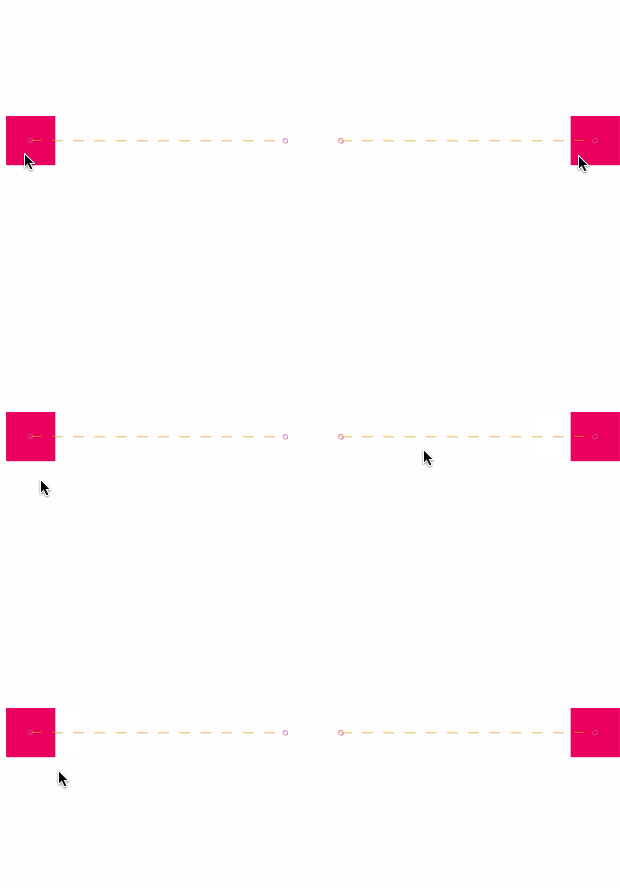
- 動かすと↓のようになる。MotionLayoutをスワイプすると対象のオブジェクトが移動しているのがわかる。

KeyFrame
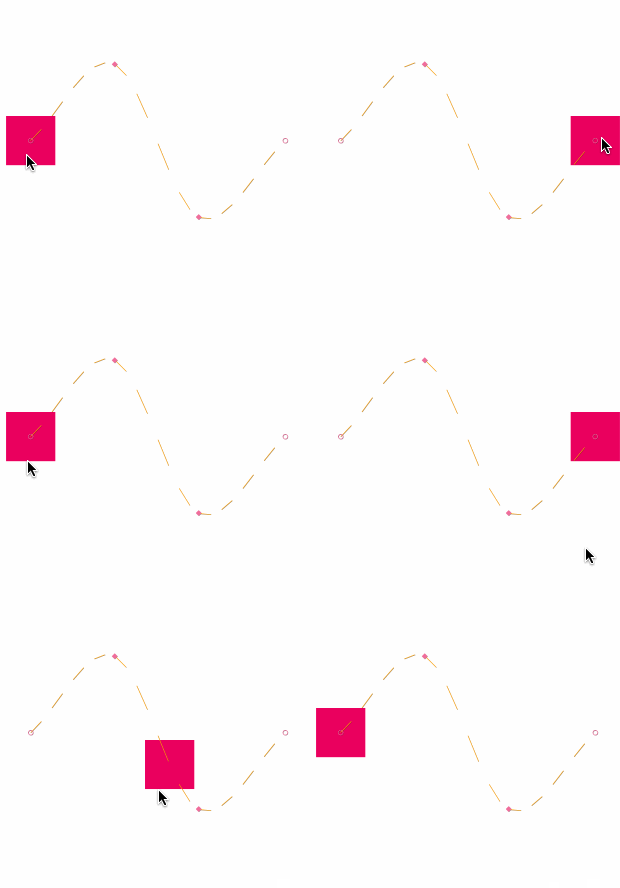
- KeyFrameを使うと開始・終了の中間の状態を定義できる。上のサンプルのTransitionの中に以下のようなKeyFrameを追加してみる。
   <Transition
        motion:constraintSetEnd="@+id/end"
        motion:constraintSetStart="@+id/start">
        <OnSwipe
            motion:dragDirection="dragRight"
            motion:touchAnchorId="@+id/button"
            motion:touchAnchorSide="right" />
        <KeyFrameSet>
            <KeyPosition
                motion:framePosition="33"
                motion:keyPositionType="pathRelative"
                motion:percentY="-0.3"
                motion:target="@id/button" />
            <KeyPosition
                motion:framePosition="66"
                motion:keyPositionType="pathRelative"
                motion:percentY="0.3"
                motion:target="@id/button" />
        </KeyFrameSet>
    </Transition>

- framePositonは開始が0で終了が100になる。KeyFrameはその中間の値の時にどのような状態になるかを指定する。上記の例はpositonが33、66の時にy座標の位置を変えるような指定になっている。
- KeyFrameは以下の種類を指定できる
CustomAttributeを使ってオブジェクトの属性を変化する
- KeyAttributeで指定できない属性もCustomAttributeを使えば状態を変化できる。属性名はオブジェクトに生えているgetter/setterからget/setを除いた名前を指定する。
- CustomAttributeはConstraintとKeyAttributeの子要素に指定できる。基本のサンプルを以下のように変更してみる。
<?xml version="1.0" encoding="utf-8"?>
<MotionScene xmlns:android="http://schemas.android.com/apk/res/android"
    xmlns:motion="http://schemas.android.com/apk/res-auto">

    <Transition
        motion:constraintSetEnd="@+id/end"
        motion:constraintSetStart="@+id/start">
        <OnSwipe
            motion:dragDirection="dragRight"
            motion:touchAnchorId="@+id/button"
            motion:touchAnchorSide="right" />
        <KeyFrameSet>
            <KeyAttribute
                motion:framePosition="50"
                android:scaleX="2"
                android:scaleY="2"
                motion:target="@+id/button">
                <CustomAttribute
                    motion:attributeName="backgroundColor"
                    motion:customColorValue="@color/colorPrimaryDark" />
            </KeyAttribute>
        </KeyFrameSet>
    </Transition>

    <ConstraintSet android:id="@+id/start">
        <Constraint
            android:id="@id/button"
            android:layout_width="64dp"
            android:layout_height="64dp"
            android:layout_marginStart="8dp"
            motion:layout_constraintBottom_toBottomOf="parent"
            motion:layout_constraintStart_toStartOf="parent"
            motion:layout_constraintTop_toTopOf="parent">
            <CustomAttribute
                motion:attributeName="backgroundColor"
                motion:customColorValue="@color/colorAccent" />
        </Constraint>
    </ConstraintSet>

    <ConstraintSet android:id="@+id/end">
        <Constraint
            android:id="@id/button"
            android:layout_width="64dp"
            android:layout_height="64dp"
            android:layout_marginEnd="8dp"
            motion:layout_constraintBottom_toBottomOf="parent"
            motion:layout_constraintEnd_toEndOf="parent"
            motion:layout_constraintTop_toTopOf="parent">
            <CustomAttribute
                motion:attributeName="backgroundColor"
                motion:customColorValue="@color/colorAccent" />
        </Constraint>
    </ConstraintSet>

</MotionScene>
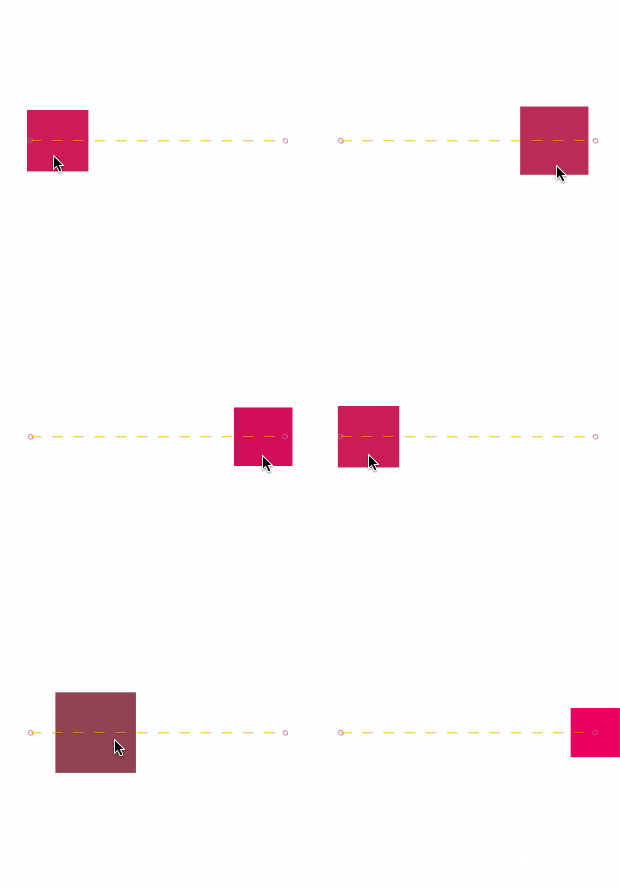
- 開始・終了のConstraintに初期表示時のbackgroundColorを追加、framePosition=50の時点のKeyAttributeを追加して、初期表示と異なるbackgroundColorを追加した。これを動かすと以下のようになる。

既存のComponentとMotionLayoutを連携する
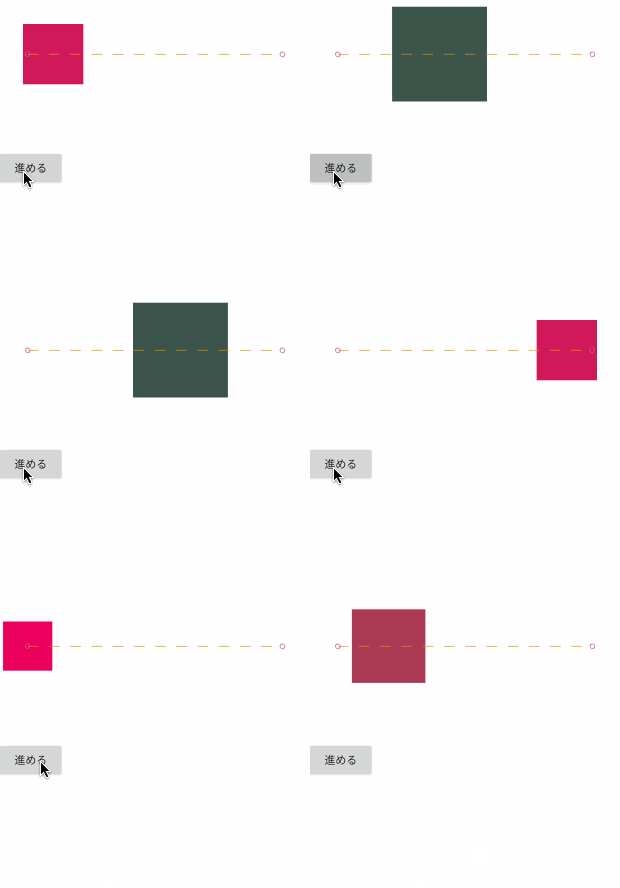
- MotionLayoutのprogressプロパティを操作すればOnClickやOnSwipeを設定しなくてもオブジェクトを変化させることができる。試しにButtonを押したら10進むようにしてみる。

- コードは以下のようになっている。MotionLayoutのprogressをいじっているだけ。
        val motionLayout = view.findViewById<MotionLayout>(R.id.motionLayout)
        val button = view.findViewById<Button>(R.id.go)
        button.setOnClickListener {
            val current = motionLayout.progress
            val next = current + 0.1f
            motionLayout.progress = if (next > 1) 0f else next
        }
- ConstraintLayoutExamplesにはDrawerやCoordinatorLayoutと連携するサンプルが載っているので試してみてほしい。
おしまい
- Exampleのプロジェクトがかなり充実していたのでありがたかったです 🙏